Tips and Tricks for Taking the Perfect Beach Photo: Expert Advice for Capturing Your Best Shot
Taking the perfect beach photo can be a challenging task, but with the right tips and tricks, you can capture stunning images that will make everyone envious. Whether you’re a professional photographer or an amateur, there are a few things you need to know before you head to the beach with your camera.
To start, it’s important to understand the unique challenges of beach photography. The bright sun, reflective sand, and constantly moving subjects can make it difficult to get the perfect shot. But by choosing the right time of day, mastering your camera settings, and using the right equipment, you can overcome these challenges and create beautiful images that capture the essence of the beach.
In this article, we’ll cover everything you need to know to take amazing beach photos. From understanding beach photography to post-processing techniques, we’ll provide you with the knowledge and skills you need to capture stunning images that will make your friends and family jealous. So grab your camera and get ready to learn how to take the perfect beach photo.
Key Takeaways
- Understanding the unique challenges of beach photography is crucial for capturing stunning images.
- Choosing the right time of day, mastering camera settings, and using the right equipment are all important for success.
- With the right tips and tricks, anyone can capture amazing beach photos.
Understanding Beach Photography
Taking the perfect beach photo requires more than just pointing your camera and clicking the shutter button. It takes an understanding of the environment, lighting, and composition. Here are some tips to help you capture stunning beach photos:
1. Know the Beach
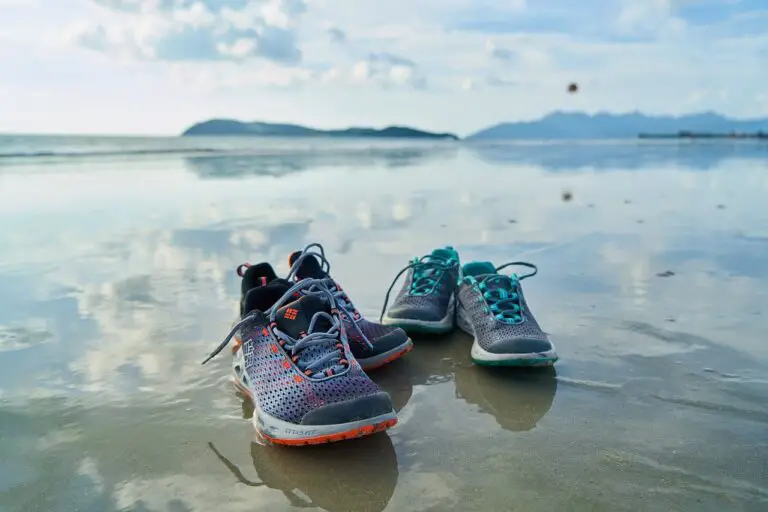
Before you start taking photos, take some time to explore the beach. Look for interesting features such as rocks, cliffs, or dunes that can add depth and texture to your photos. Pay attention to the tide and the direction of the sun to help you plan your shots.
2. Use the Right Equipment
To capture the beauty of the beach, you need the right equipment. A wide-angle lens is ideal for capturing the vastness of the beach, while a polarizing filter can help reduce glare and enhance the colors of the sky and water. A tripod can also be useful, especially when shooting in low light conditions.

3. Understand Lighting
Lighting is crucial in beach photography. The best time to take photos is during the golden hour, which is the hour after sunrise and the hour before sunset. During this time, the light is soft and warm, which can create stunning colors and shadows. Avoid taking photos during the middle of the day when the light is harsh and creates unflattering shadows.
4. Use Composition Techniques
Composition is key in photography, and the beach offers many opportunities to create interesting compositions. The rule of thirds is a classic composition technique that can help you create balanced and visually appealing photos. You can also use leading lines, such as the shoreline, to draw the viewer’s eye into the photo.
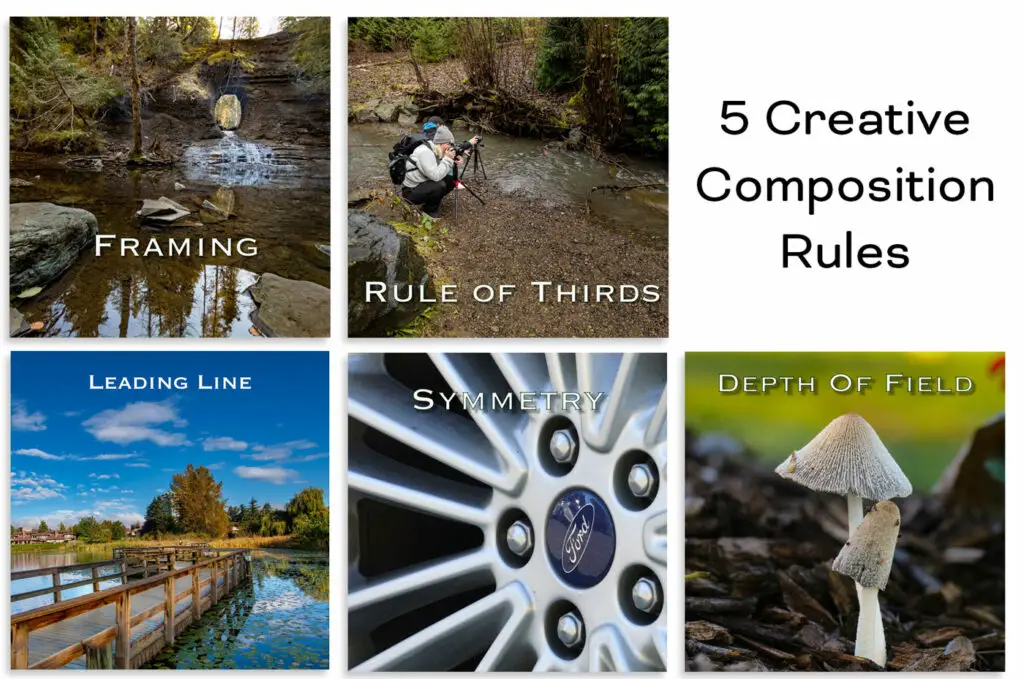
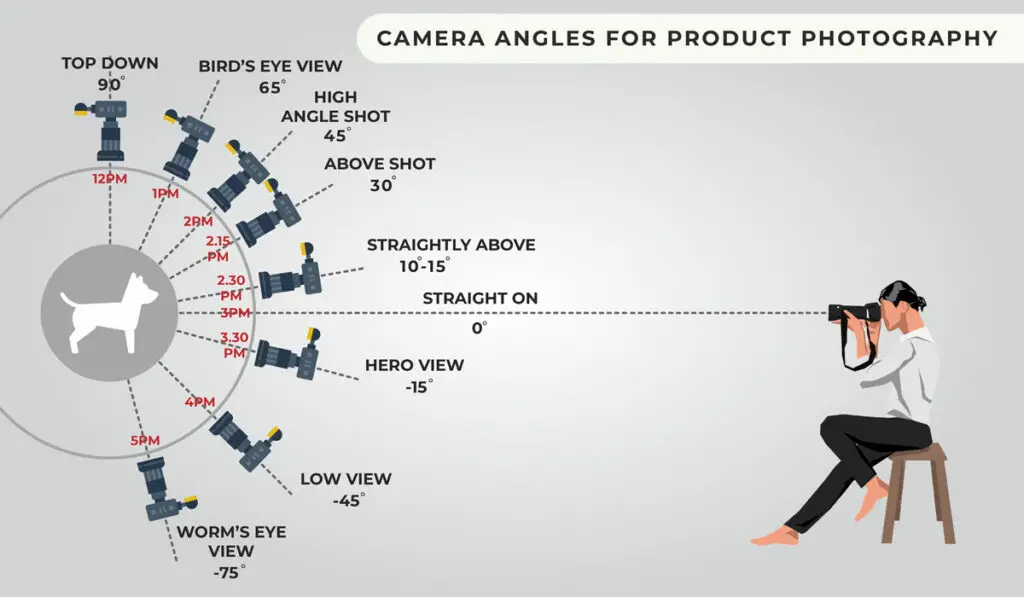
5. Experiment with Angles
Don’t be afraid to experiment with different angles and perspectives. Get low to the ground to capture interesting textures in the sand, or climb up to a higher vantage point to capture the vastness of the beach. By changing your perspective, you can create unique and visually striking photos.
By following these tips, you can capture stunning beach photos that will transport you back to the beauty of the beach every time you look at them.
Choosing the Right Time
When it comes to beach photography, choosing the right time to take your photos can make all the difference. Here are some tips to help you pick the perfect time:
Golden Hour and Blue Hour
The “golden hour” is the hour just after sunrise and just before sunset, when the sun is low in the sky and the light is soft and warm. This is the perfect time to take beach photos, as the light will give your photos a beautiful, dreamy quality.
The “blue hour” is the hour just before sunrise and just after sunset, when the sky takes on a deep blue hue. This is also a great time to take photos, as the blue light can give your photos a moody, atmospheric feel.
Sunrise and Sunset
Sunrise and sunset are also great times to take beach photos, as the light is still soft and warm, but the colors in the sky can be even more dramatic. Keep in mind that the light changes quickly during these times, so be prepared to adjust your camera settings and composition as needed.

Midday Photography
If you can’t make it to the beach during the golden hour or blue hour, don’t worry! Midday photography can still produce great results, especially if you use the right techniques. Try shooting with the sun behind you, or use a polarizing filter to reduce glare and make colors pop.
Keep in mind that midday photography can be challenging due to harsh light and shadows, so be prepared to experiment with different settings and angles.
No matter what time of day you choose to take your beach photos, keep an eye on the weather. Overcast days can produce beautiful, diffused light that can be perfect for beach photography.
Remember, the key to great beach photography is to be patient and experiment with different techniques. With a little practice, you’ll be taking stunning beach photos in no time!
Mastering Camera Settings
Taking the perfect beach photo requires a good understanding of your camera’s settings. In this section, we’ll cover the essential camera settings to help you take the best beach photos.
Understanding Shutter Speed
Shutter speed is the amount of time your camera’s sensor is exposed to light. A fast shutter speed freezes motion, while a slow shutter speed creates motion blur. For beach photography, it’s important to use a fast shutter speed to freeze the motion of waves, people, and objects. A good starting point is 1/1000th of a second, but you may need to adjust this depending on the lighting conditions and the speed of the action.
Playing with Aperture
Aperture is the size of the opening in your lens through which light passes. A wide aperture (small f-number) creates a shallow depth of field, while a narrow aperture (large f-number) creates a deep depth of field. For beach photography, you may want to use a wide aperture to create a blurred background and focus on your subject. However, if you want to capture the entire scene in focus, use a narrow aperture.
Managing Exposure
Exposure is the amount of light that reaches your camera’s sensor. A well-exposed photo has a good balance of light and dark areas. Overexposure occurs when too much light reaches the sensor, resulting in a bright, washed-out photo. Underexposure occurs when too little light reaches the sensor, resulting in a dark, underexposed photo. To manage exposure, you can use the camera’s exposure meter to adjust the shutter speed, aperture, or ISO.
Spot Metering and Exposure Compensation
Spot metering allows you to measure the exposure of a specific area of the scene, rather than the entire scene. This is useful when you want to expose for a specific subject or area. Exposure compensation allows you to adjust the exposure based on the metered value. For example, if the camera is underexposing the scene, you can use exposure compensation to increase the exposure.
Shooting in RAW File Format
Shooting in RAW file format gives you more control over the final image. RAW files contain more information than JPEG files, allowing you to adjust the exposure, white balance, and other settings in post-processing without losing image quality. Shooting in RAW also allows you to recover details in overexposed or underexposed areas of the photo.
By mastering these camera settings, you’ll be able to take stunning beach photos that capture the beauty and essence of the scene.
Essential Beach Photography Equipment
When it comes to beach photography, having the right equipment can make all the difference. Here are some essential pieces of equipment you’ll need to take the perfect beach photo.
Choosing the Right Lens
Choosing the right lens is crucial for beach photography. A wide-angle lens is perfect for capturing the vast, open spaces of the beach and the ocean. A focal length of 16mm to 35mm is ideal for landscape shots like these. However, if you want to capture a more detailed shot of a subject on the beach, a telephoto lens with a focal length of 70mm to 200mm is a better choice.

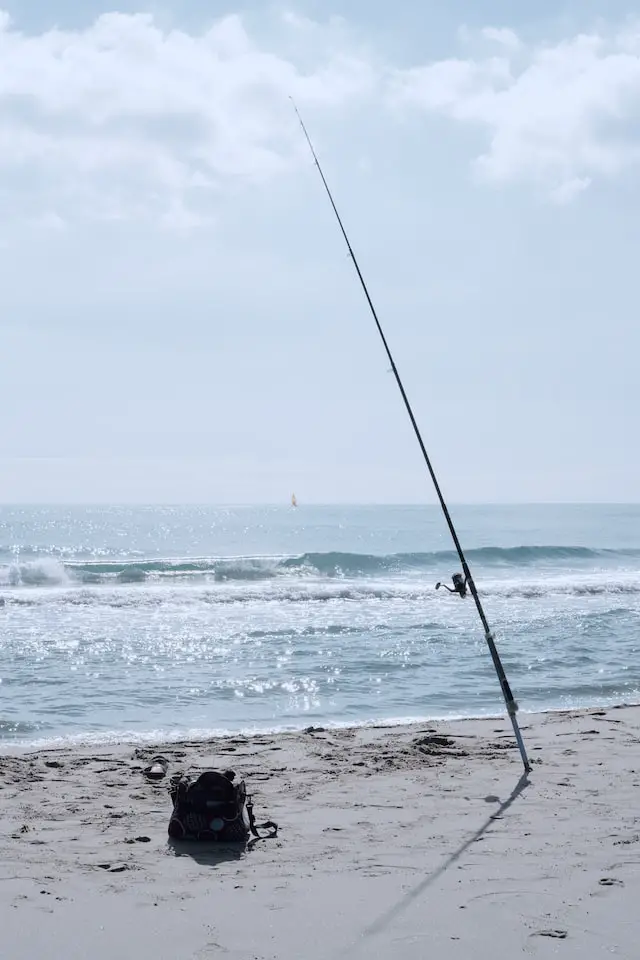
Importance of Tripod
Using a tripod is essential for beach photography, especially during low-light conditions. It helps to stabilize your camera and prevent camera shake, resulting in sharper images. A sturdy tripod that can withstand the wind and sand is recommended.
For this and other great options on tripods, check out Amazon.

Using Filters
Filters can help enhance your beach photos. A polarizing filter can reduce glare and reflections on the water and sand, making the colors more vibrant. A UV filter can also protect your lens from the harsh sun rays and saltwater spray. A lens hood can also help reduce lens flare and protect your lens.
Additional Equipment
Other equipment that can be useful for beach photography includes a reflector to bounce light onto your subject, an external flash to fill in shadows, and an air blower and lens cloths to clean your equipment from sand and saltwater spray. A drone can also be used to capture aerial shots of the beach and ocean.
In conclusion, having the right equipment is crucial for taking the perfect beach photo. By choosing the right lens, using a tripod, and utilizing filters and additional equipment, you can take stunning photos that capture the beauty of the beach and ocean.
Composition and Framing
When taking beach photos, the right composition and framing can make all the difference. Here are some tips to help you take the perfect beach photo.
Identifying Focal Points
Before taking your shot, take a moment to identify the focal points in your frame. These can be anything from a person or object to a rock or shell. Once you’ve identified your focal point, position it in the frame so that it’s the center of attention.
Playing with Shadows and Textures
Shadows and textures can add depth and interest to your beach photos. Look for interesting patterns in the sand or rocks, and use them to create contrast and texture in your photos. You can also play with shadows by positioning your subject in front of the sun, which will create a silhouette effect.
Incorporating the Horizon and Waves
The horizon and waves are two important elements in beach photography. When framing your shot, consider the position of the horizon line. You can position it at the top or bottom of the frame, or use the rule of thirds to place it off-center.
The waves can also add a dynamic element to your photos. Try capturing the motion of the waves by using a slower shutter speed, which will create a blurred effect.
Adding a Sense of Scale
Adding a sense of scale to your beach photos can help give your viewers a better sense of the size and scope of the scene. You can do this by including a person or object in the frame that gives a sense of perspective. For example, you could include a small boat or a person walking along the beach.
Remember, the right composition and framing can make all the difference in your beach photos. By identifying focal points, playing with shadows and textures, incorporating the horizon and waves, and adding a sense of scale, you can take stunning beach photos that capture the beauty and essence of the scene.
Creative Beach Photography Techniques
If you’re looking to take your beach photography to the next level, consider trying out some creative techniques to capture unique and stunning shots. Here are a few techniques to try out:
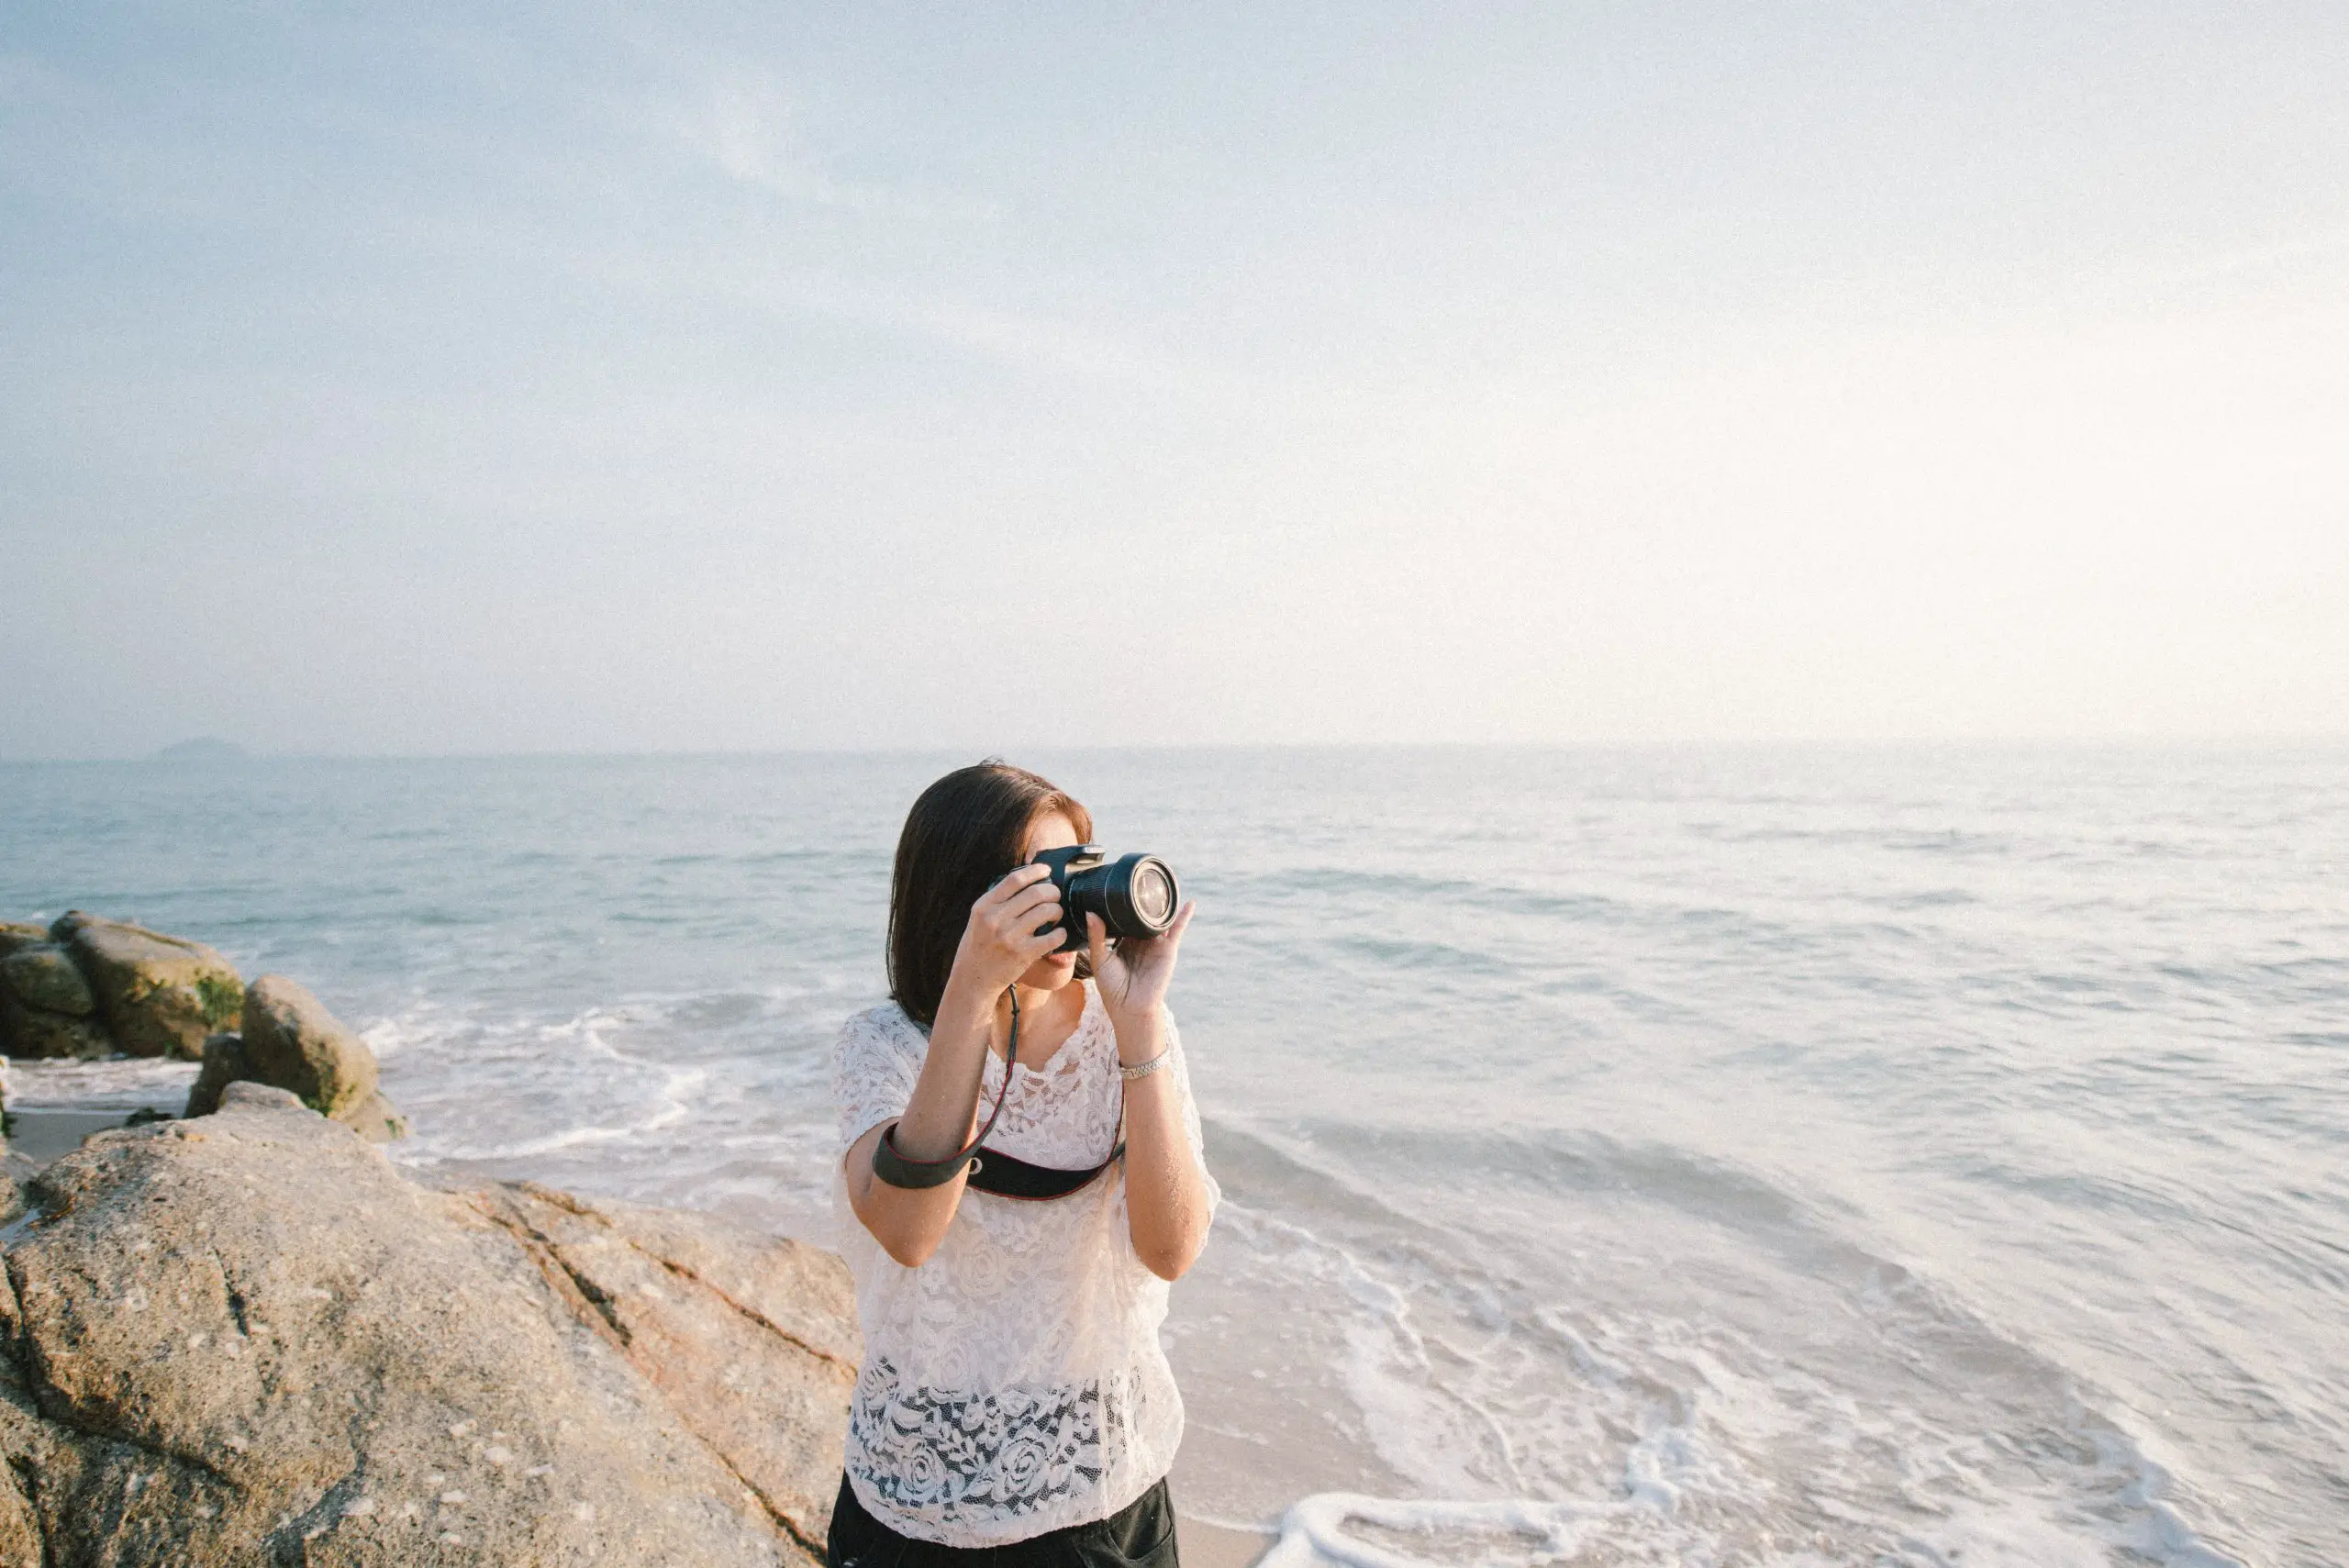
Portrait Photography
One of the best ways to capture the beauty of the beach is by incorporating people into your shots. Whether you’re taking candid shots of friends and family or setting up a more formal photoshoot, portrait photography can add an extra dimension to your beach photos.
When taking portraits on the beach, consider using a wide aperture to blur the background and draw attention to your subject. You can also experiment with different angles and poses to create interesting compositions.
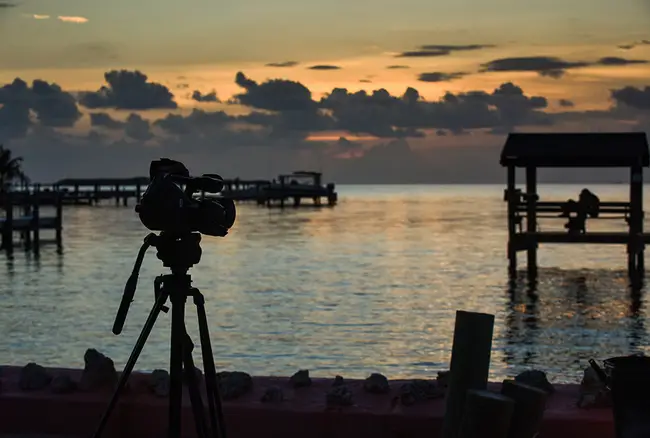
Shooting Silhouettes
Silhouettes can add a dramatic and artistic element to your beach photos. To capture a silhouette, position your subject in front of the sun so that their body blocks the light. Use a fast shutter speed to ensure that your subject is properly exposed while the background remains dark.
Silhouettes work particularly well during sunrise or sunset when the light is softer and more colorful. Experiment with different poses and angles to create unique and striking silhouettes.
Bracketing and Multiple Exposures
Bracketing and multiple exposures can help you capture the full range of light and color in a beach scene. Bracketing involves taking multiple shots of the same scene at different exposures, while multiple exposures involve combining multiple shots into a single image.
To use bracketing, set your camera to aperture priority mode and take a series of shots at different exposures. To create a multiple exposure, take two or more shots of the same scene and combine them in post-processing.
Drone Photography
Drone photography can provide a unique perspective on the beach and its surroundings. Drones allow you to capture aerial shots of the beach and ocean, as well as interesting patterns and textures in the sand.
When using a drone, make sure to follow all local regulations and guidelines. Be respectful of other beachgoers and avoid flying your drone in crowded areas. Consider using a polarizing filter to reduce glare and enhance the colors in your shots.
By incorporating these creative techniques into your beach photography, you can capture stunning and unique shots that truly capture the beauty of the beach.
Post-Processing Techniques
When it comes to beach photography, post-processing techniques can make a huge difference in the final outcome of your images. Here are some tips and tricks for working with underexposed and overexposed images, as well as adding the final touches to your beach photos.
Working with Underexposed Images
Underexposed images can be a common problem when shooting at the beach, especially during sunrise or sunset. However, you can easily fix this issue during post-processing by adjusting the brightness and exposure levels.
In Lightroom, you can use the “Exposure” and “Shadows” sliders to brighten up the image and bring out the details in the darker areas. You can also use the “Highlights” slider to recover any blown-out highlights.
If you find that the image is still too dark, you can use the “Curves” tool to adjust the tones and contrast. Just make sure to avoid over-editing, as this can result in a noisy and unnatural-looking image.
Enhancing Overexposed Images
On the other hand, overexposed images can be just as problematic. When shooting at the beach, the bright sunlight can often cause the highlights to blow out and lose detail.
To fix this issue, you can use the “Highlights” and “Whites” sliders in Lightroom to bring down the exposure and recover the details in the highlights. You can also use the “Clarity” slider to add some definition and texture to the image.
If the image still looks too washed out, you can use the “Vibrance” and “Saturation” sliders to add some color and contrast back into the image. Just be careful not to overdo it, as this can result in an overly-saturated and unrealistic image.
Check out this video on enhancing overexposed photos.
Adding the Final Touches
Once you’ve adjusted the exposure and brightness levels, it’s time to add the final touches to your beach photos. This can include cropping the image, adjusting the white balance, and sharpening the details.
In Lightroom, you can use the “Crop” tool to adjust the composition of the image and remove any distractions. You can also use the “White Balance” tool to adjust the color temperature and tint of the image.
To sharpen the details, you can use the “Sharpening” tool in Lightroom. Just be careful not to over-sharpen, as this can result in a noisy and unnatural-looking image.
Overall, post-processing techniques can help you take your beach photos to the next level. By adjusting the exposure, brightness, and colors, you can create stunning images that capture the beauty of the beach.
Tips for Beach Photography in Different Locations
When it comes to beach photography, different locations require different approaches. The lighting, colors, and overall environment can vary greatly depending on where you are. Here are some tips for taking the perfect beach photo in different locations.
California Beaches
California beaches are known for their beautiful sunsets and dramatic scenery. To capture the perfect shot, try the following:
- Shoot during the golden hour, which is the hour after sunrise and the hour before sunset. The light during this time is soft and warm, which can create a beautiful glow in your photos.
- Use a polarizing filter to reduce glare and enhance the colors in the sky and water.
- Look for interesting foreground elements, such as rocks or tide pools, to add depth and interest to your photos.
- Experiment with different angles and perspectives. Try shooting from a low angle to make the waves appear larger, or from a high angle to capture the entire beach.
East Coast Beaches
East Coast beaches are known for their wide, sandy beaches and bright, clear skies. To capture the perfect shot, try the following:
- Shoot during the early morning or late afternoon to avoid harsh midday sun. The light during these times is softer and more flattering.
- Use a wide-angle lens to capture the vast expanse of the beach and the ocean.
- Look for interesting patterns and textures in the sand and water, such as footprints or waves.
- Experiment with different compositions. Try shooting from a higher vantage point to capture the entire beach, or from a lower angle to make the waves appear larger.
No matter where you are, keep in mind the environment around you. Be aware of the weather, tides, and other factors that can affect your photos. With these tips, you’ll be sure to capture the perfect beach photo every time.
Have a look at some great beach options with this beach resource.
Frequently Asked Questions
How can I take cute beach pictures?
Taking cute beach pictures requires a combination of creativity, timing, and preparation. Here are some tips to help you take cute beach pictures:
- Use props: Props can add a fun and playful element to your beach pictures. Consider using things like beach balls, umbrellas, or even a surfboard to add interest to your shots.
- Get close: Don’t be afraid to get up close and personal with your subject. By getting closer, you can capture more detail and create a more intimate feel to your photos.
- Use natural light: The beach is the perfect place to take advantage of natural light. Try to take your pictures during the golden hour, which is the hour after sunrise or the hour before sunset. This will give your photos a warm and beautiful glow.
What are the best camera settings for beach pictures?
The best camera settings for beach pictures will depend on the lighting conditions and the effect you want to achieve. Here are some general tips to help you get started:
- Use a low ISO: The bright sunlight at the beach can cause your photos to look overexposed. Using a low ISO setting can help you avoid this problem.
- Use a fast shutter speed: A fast shutter speed can help you capture action shots, like people playing in the waves.
- Use a small aperture: A small aperture (a high f-stop number) can help you create a deep depth of field, which is useful when you want to capture a lot of detail in your shots.
What is the best color to wear for a beach photoshoot?
When it comes to choosing the best color to wear for a beach photoshoot, it’s important to consider the overall mood you want to create. Here are some tips to help you choose the best color:
- Bright colors: Bright colors like yellow, orange, and pink can add a fun and playful element to your photos.
- Neutral colors: Neutral colors like white, beige, and gray can create a more relaxed and serene mood.
- Blue: Blue is a popular color for beach photoshoots because it complements the color of the ocean.